If you’re looking to enhance the look of your home with minimal effort and cost, pre made panelling could be the perfect solution. These ready-to-install panels offer a hassle-free way to upgrade your walls, creating a stylish, professional finish without the need for custom design or lengthy installation processes. In this article, we’ll explore the benefits of using pre made panelling, how it works, and how it can transform your living spaces.
1. What is Pre-Made Panelling?
Pre made panelling refers to panels that are pre-cut, pre-finished, and ready for installation. These panels are designed to fit standard wall sizes and can be easily attached to your walls without the need for professional installation. They come in various materials such as wood, MDF, and PVC, and can be customized to suit a wide range of interior styles.
For high-quality, customizable options, be sure to checkout pre made panelling to bring your design vision to life. Whether you’re looking for a contemporary look with sleek designs or a more traditional style with intricate details, pre made panelling offers versatility and ease of use for any home improvement project.
2. Benefits of Using Pre-Made Panelling
There are several reasons why pre made panelling is a popular choice for homeowners and interior designers alike. Here are some of the key advantages:
Time-Saving: One of the main benefits of pre made panelling is the time saved during installation. Since the panels are pre-cut and finished, all you need to do is attach them to your walls. This quick installation process means you can enjoy your new look in no time, without having to wait for custom designs to be created.
Cost-Effective: Custom wall panels can be expensive, especially when factoring in design and labor costs. Pre made panelling, on the other hand, is a more budget-friendly option that still offers a high-end look. You can achieve a luxurious appearance without breaking the bank.
No Expertise Needed: Unlike custom-made panels, which often require professional installation, pre made panelling is easy to install for anyone, even DIY beginners. Most panels come with clear instructions, and the process is simple and straightforward, making it ideal for home improvement projects of all sizes.
Variety of Designs: Pre made panelling comes in various styles, colors, and materials, allowing you to choose the perfect design for your space. Whether you’re looking for a classic wood finish or a modern minimalist look, there’s a pre made panelling style to suit every taste and budget.
3. Benefits of Pre-Made Panelling for Different Spaces
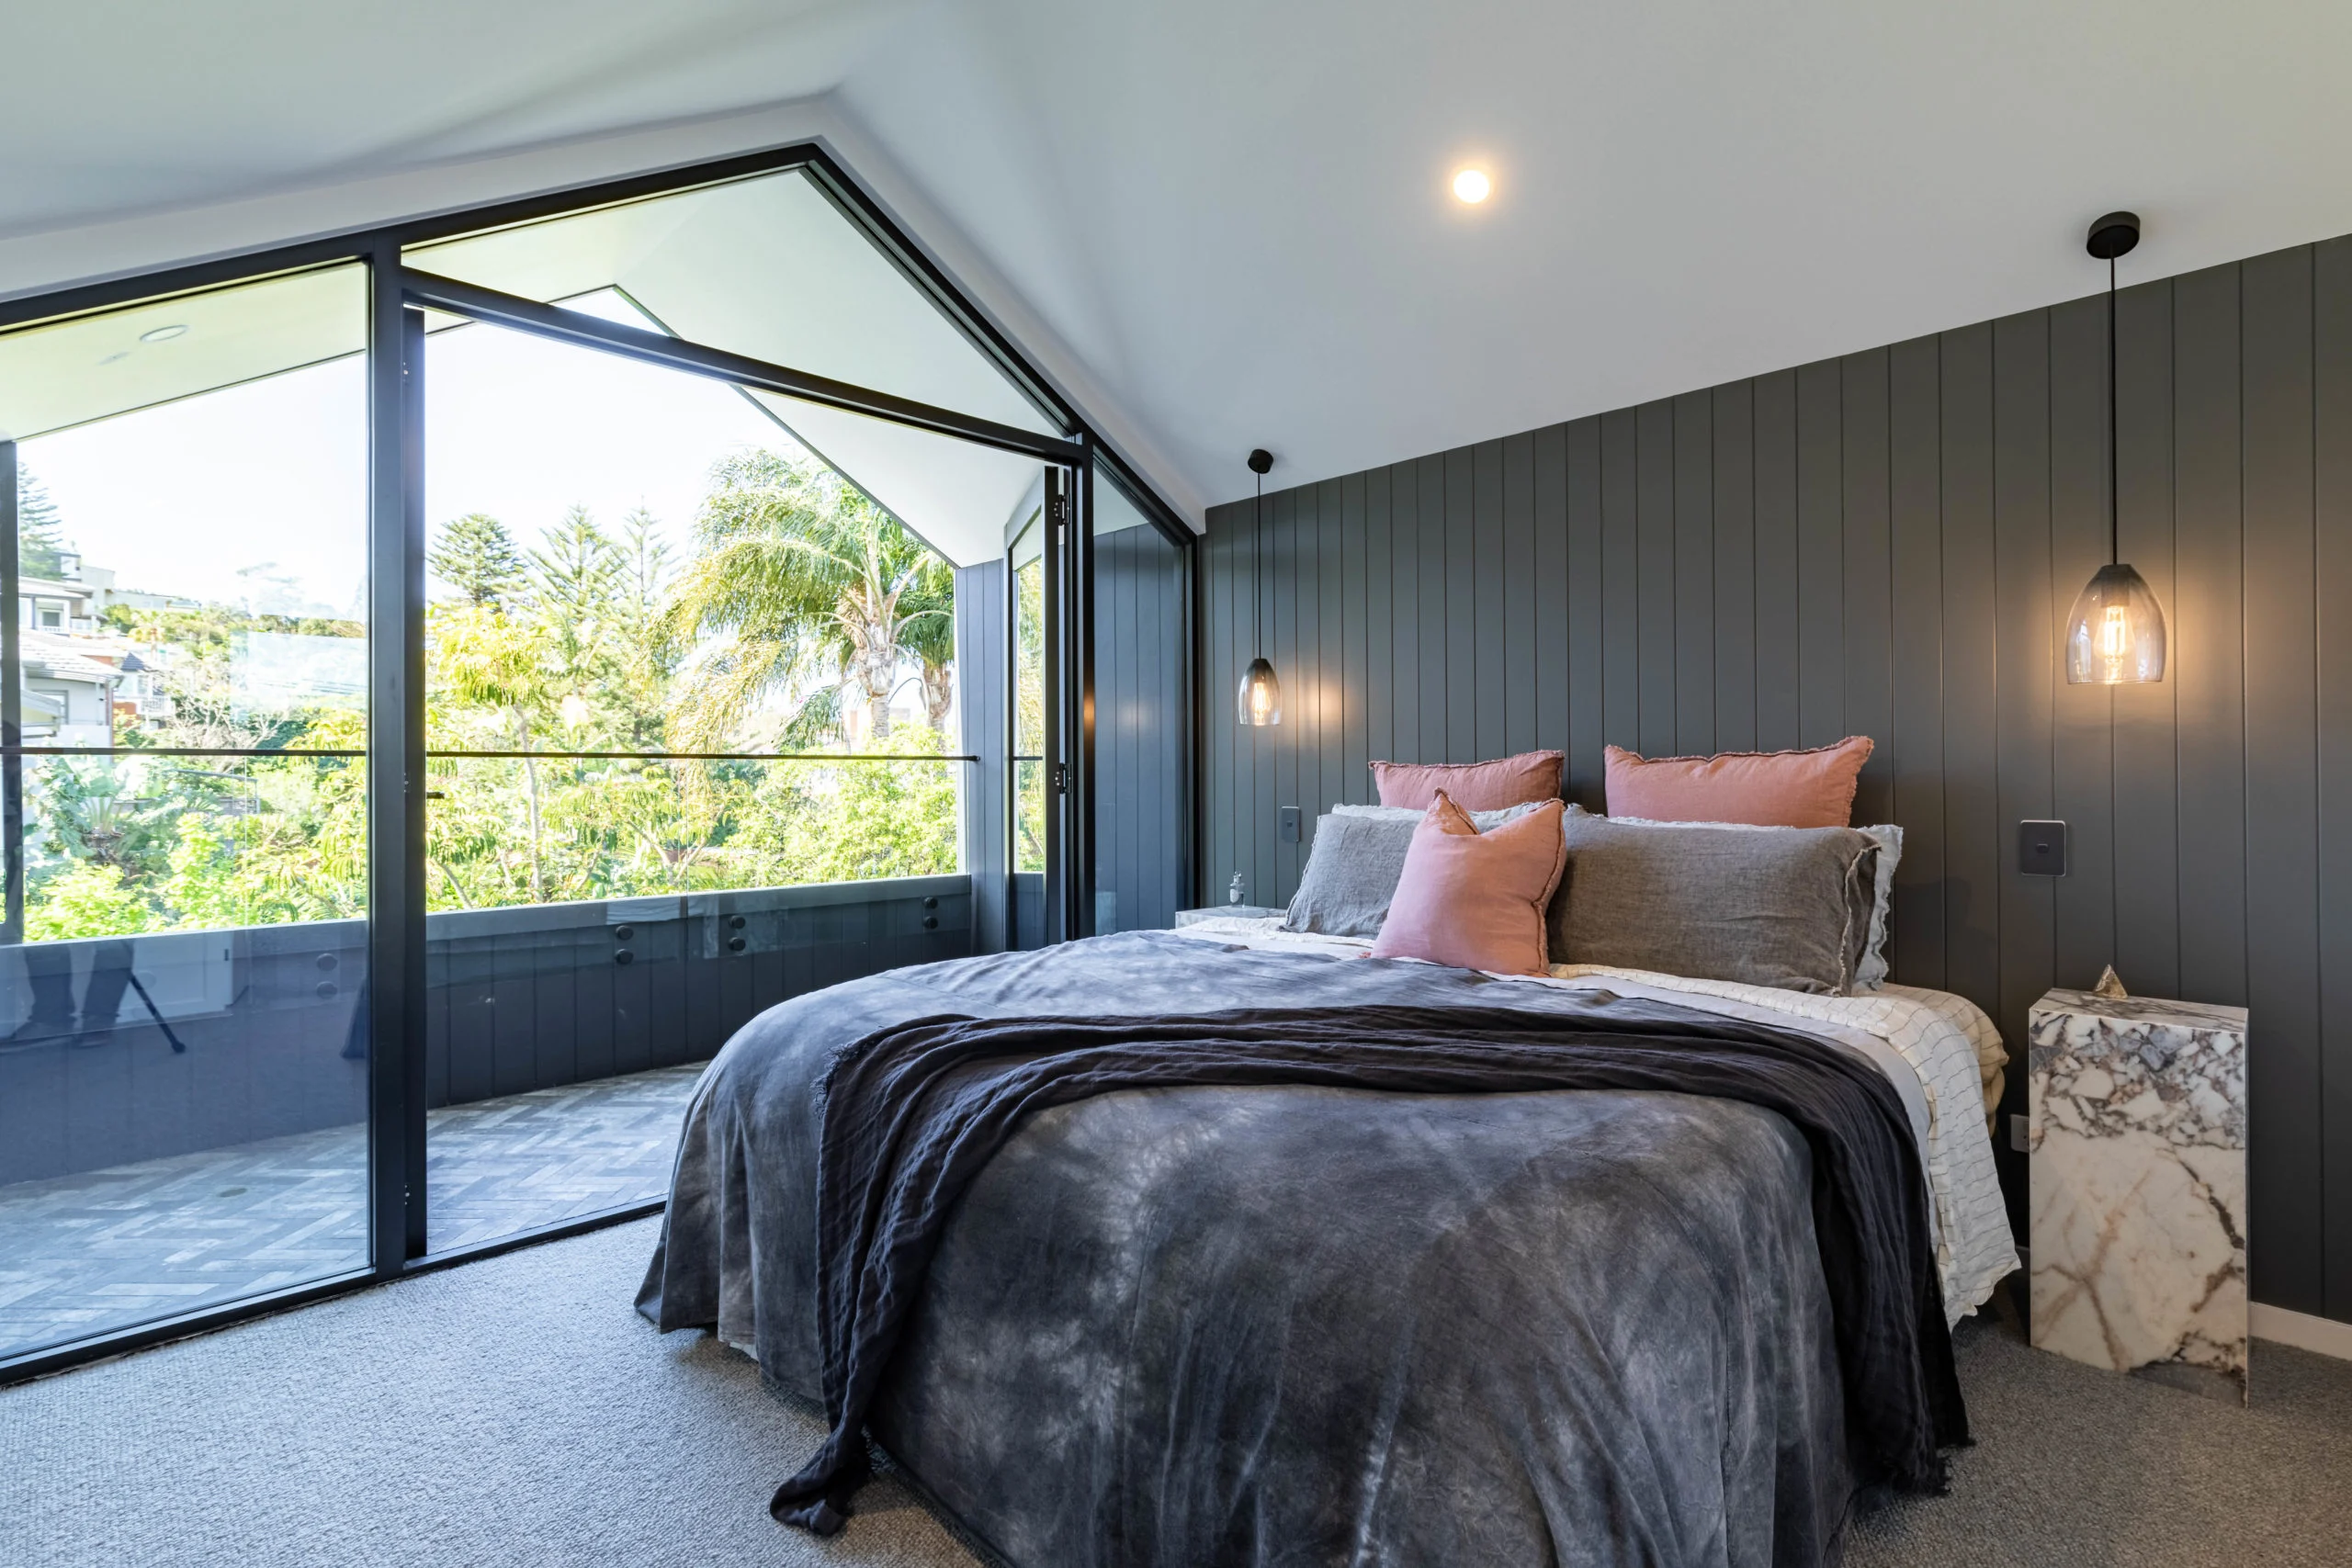
Living Rooms: In living rooms, pre made panelling can be used to create a feature wall, bringing texture and elegance to the space. Whether you opt for bold wood panels or sleek contemporary finishes, pre made panelling is a fantastic way to make your living area feel more inviting.
Kitchens and Bathrooms: Pre made panelling is also an excellent choice for kitchens and bathrooms, as it adds visual appeal while being easy to clean. Many pre made panelling options are water-resistant, making them ideal for high-humidity environments like bathrooms.
Offices and Commercial Spaces: If you’re looking to add a professional touch to your office or commercial space, pre made panelling can help you achieve a sophisticated and polished look without high installation costs. It’s an excellent option for creating an inviting atmosphere in workspaces or reception areas.
4. How to Install Pre-Made Panelling
Installing pre made panelling is a simple process that you can handle yourself. Here’s a basic guide to installing your panels:
Step 1: Measure the Wall
Accurate measurements are crucial for a perfect fit. Measure the height and width of your walls to determine how many panels you need. Make sure to account for doors, windows, and any other obstacles.
Step 2: Choose the Panels
Once you have your measurements, it’s time to select your panels. There are a variety of materials and finishes available, such as wood, MDF, and PVC, which offer different looks and functionalities.
Step 3: Prepare the Walls
Before installation, make sure the walls are clean and smooth. Patch up any holes or cracks, and apply a coat of primer to help the panels adhere better.
Step 4: Install the Panels
Begin by attaching the panels from the bottom upwards. Most pre made panelling comes with adhesive backing, or you can use construction adhesive to secure the panels to the wall. Follow the manufacturer’s instructions carefully to ensure a secure installation.
Step 5: Finish the Installation
Once all the panels are in place, you can apply any finishing touches such as caulking around the edges or adding trim pieces for a more refined look.
Conclusion
Pre made panelling offers a quick, affordable way to transform any room in your home. With easy installation, a variety of designs, and cost-effective pricing, it’s the perfect solution for homeowners looking to enhance their space without the hassle of custom design. Whether you’re looking to add classic elegance, modern sophistication, or something in between, pre made panelling gives you the flexibility to create a stylish and functional living area.